Getting Your IR Heat Right in a Custom Paint Booth
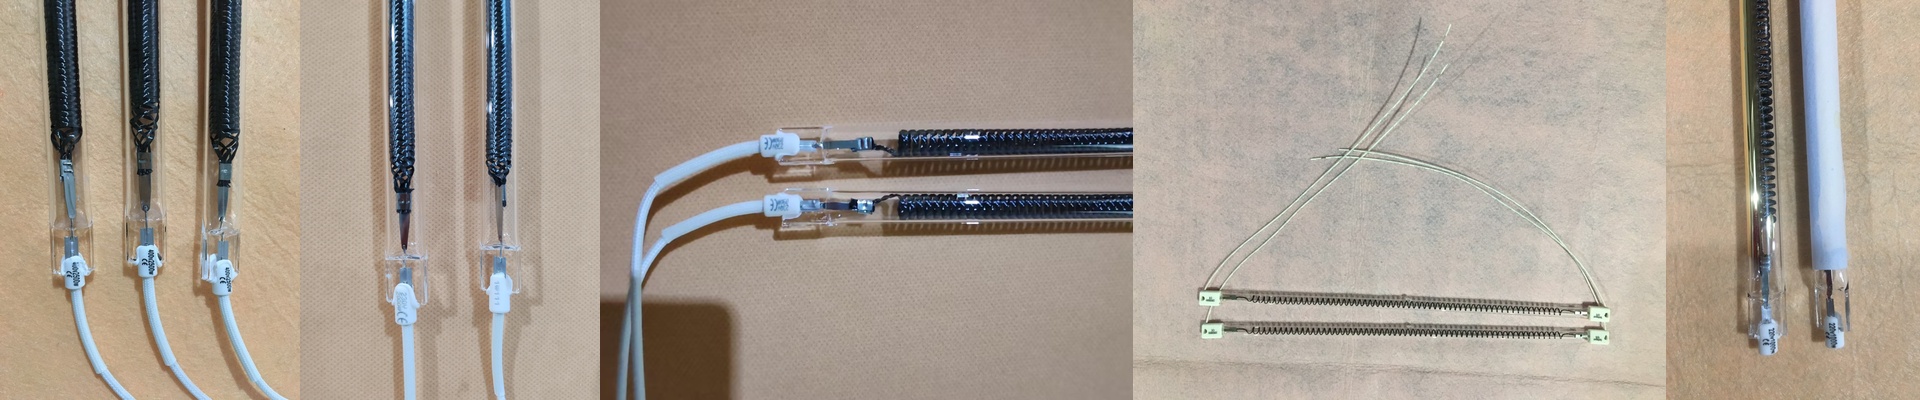
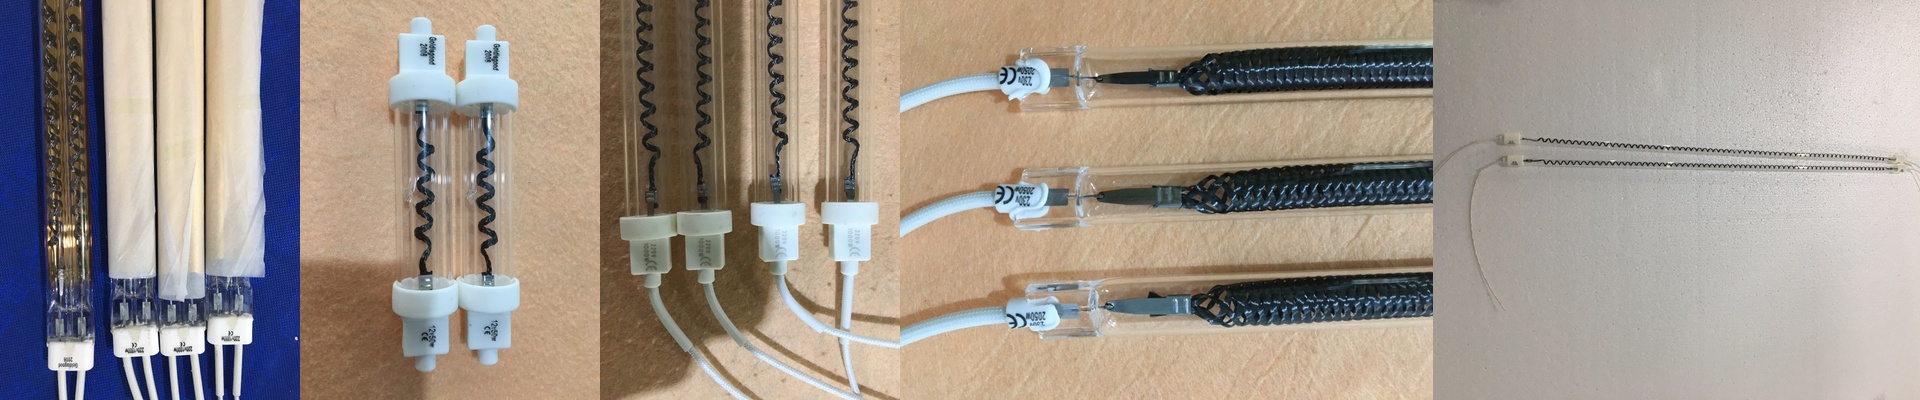
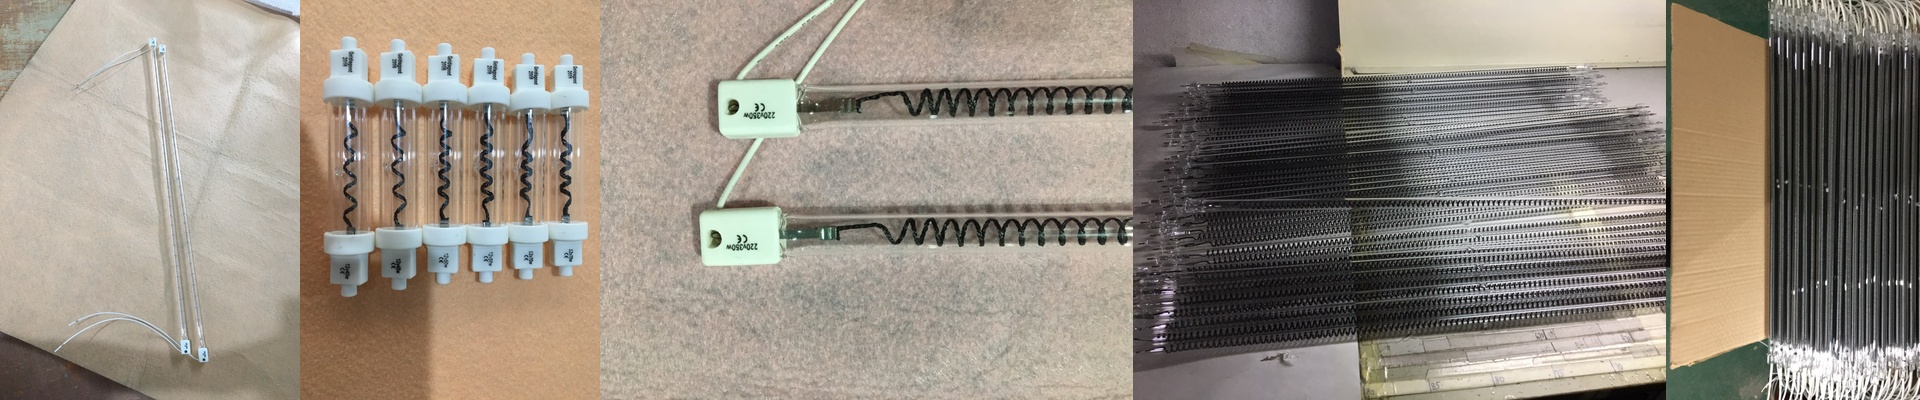
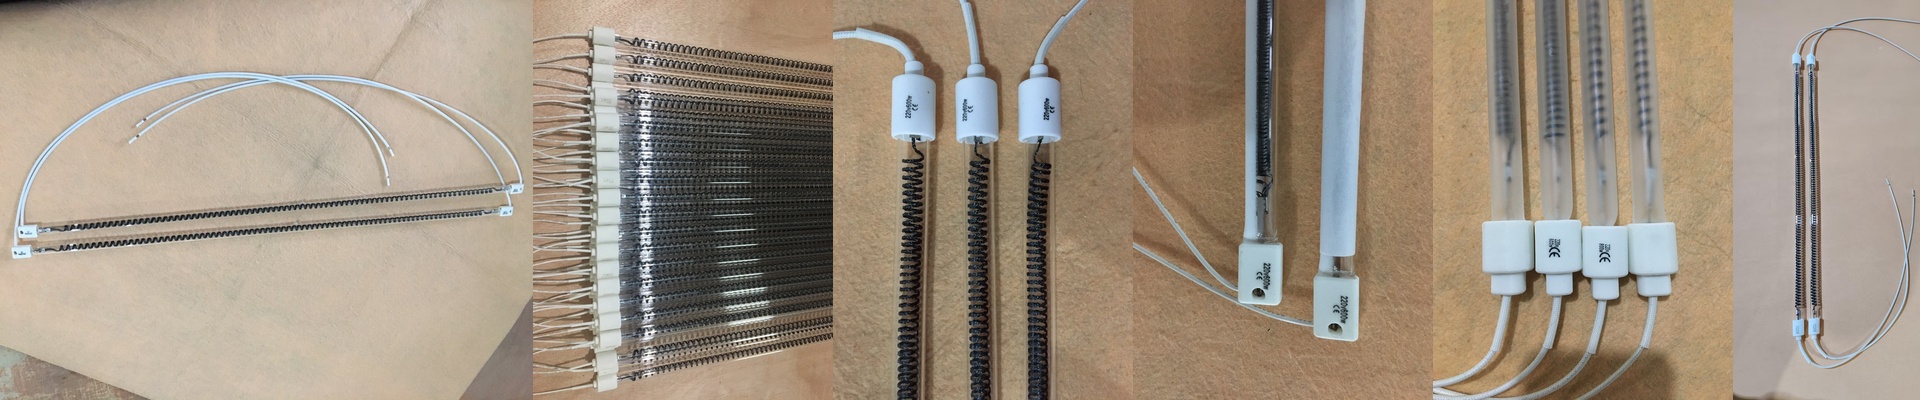
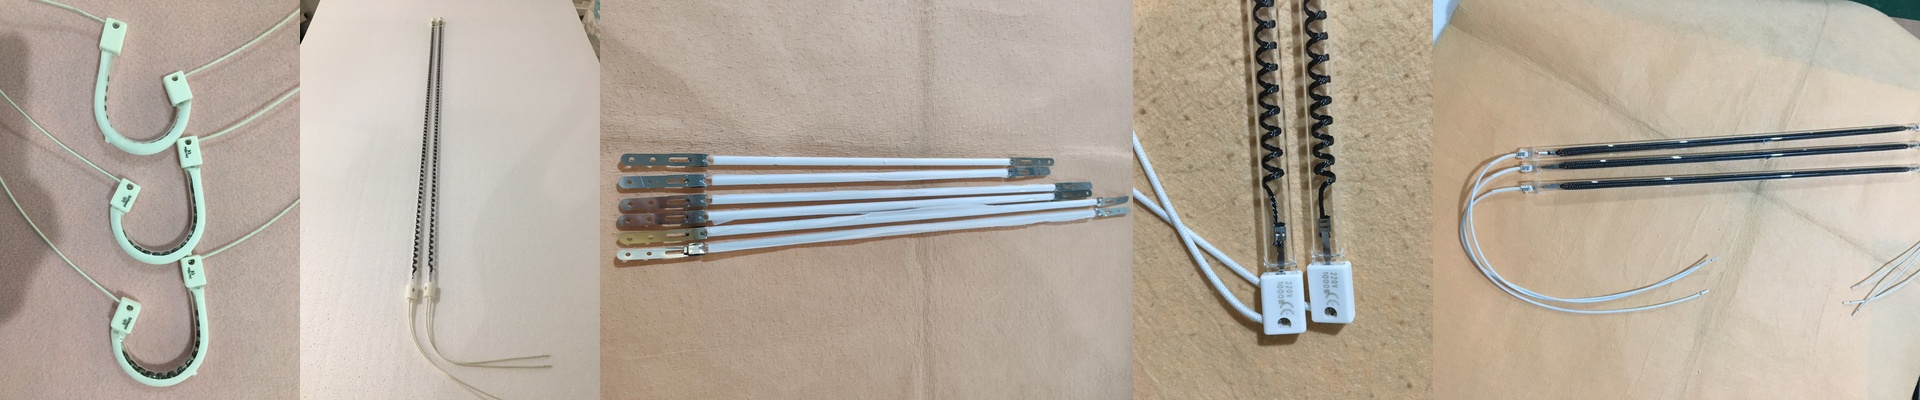
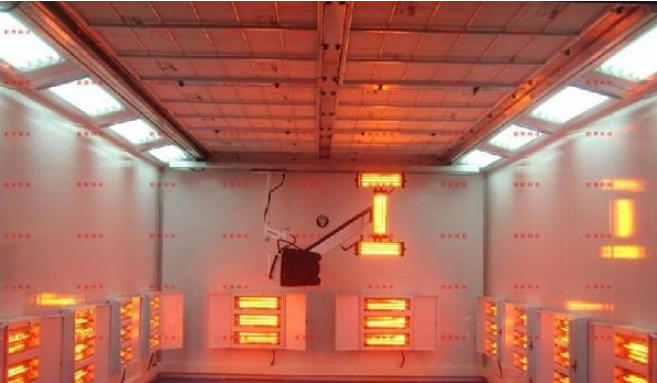
When you’re building heating walls for a paint booth, the only thing that really matters is getting a uniform cure across the whole car. Here’s the problem: a tiny coupe and a massive SUV don’t soak up heat the same way. If you just throw a standard lamp layout at both, you’re asking for trouble. You’ll end up with “cold spots” on the lower panels or, even worse, scorched clear coat on the roof. Nobody wants to sand that down and start over. Mapping the heat We figure out where the lamps go by looking at the vehicle height and exactly how far the wall sits from the chassis. Shortwave IR lamps hit hard and fast, but that heat drops off the second you move a few inches away. To keep things even, we play with the lamp density. We usually pack more lamps right along the center-line where the bulk of the car sits, then thin them out as we hit the top and bottom. It stops that annoying “zebra effect”—those ugly strips of over-cured and under-cured paint. You just have to make sure the wattage per meter actually matches the temperature you’re aiming for. The hardware side of things You need a frame that’s tough. These walls take a beating from thermal expansion. We use quartz glass tubes because they let the heat through beautifully, but they’re fragile. If you bolt them down too tight, they’ll snap the moment the wall hits operating temperature. We make sure the brackets have a little “give” so the tubes can breathe. But be careful. If you cram too many high-wattage lamps into a tight space, you’ll bake the air in the booth before the paint even has a chance to cure. It’s a balancing act. You’ve got to sync your lamp output with your exhaust fans to keep the air moving. Making it work in the real world We wire these systems in zones. By splitting the wall into upper, middle, and lower circuits, you can just tweak the heat based on whatever car is in the booth that day. It’s simpler. It’s smarter. And it keeps you from wasting a ton of electricity heating up empty air.