Getting Brake Pad Curing Right with IR Heating
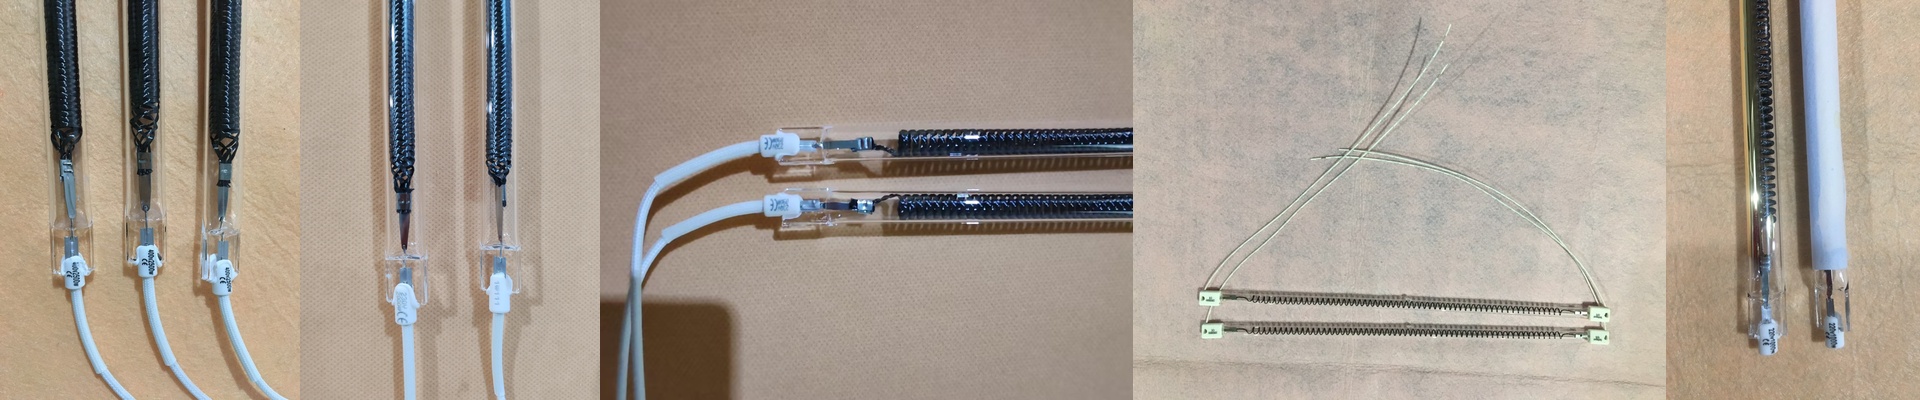
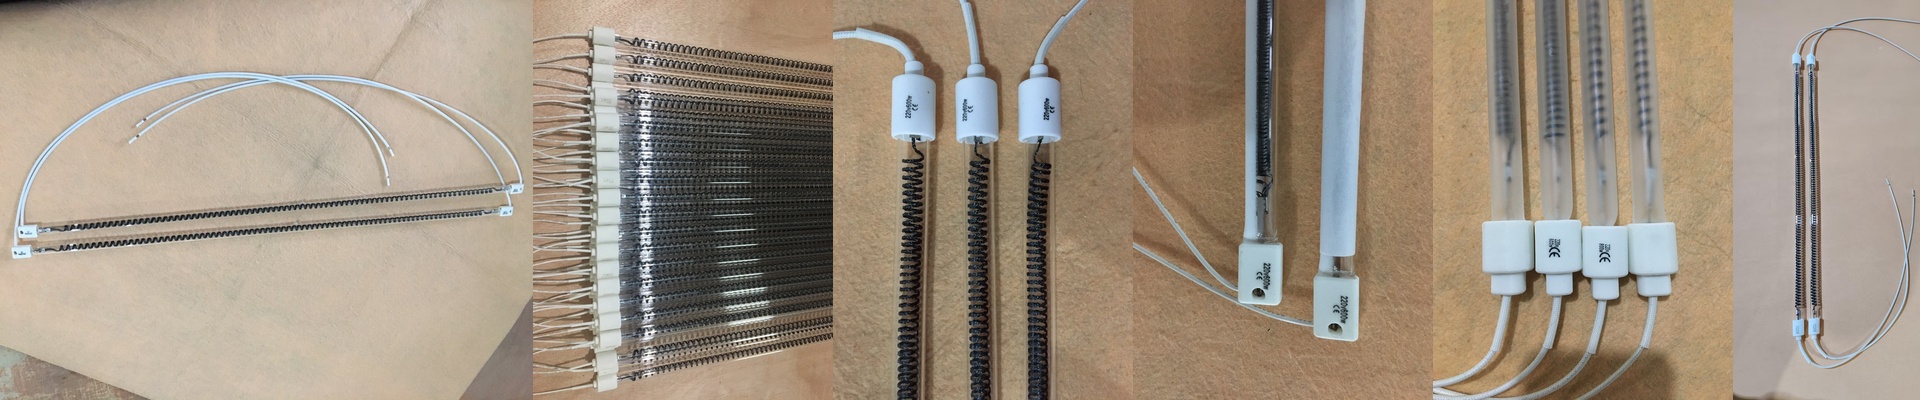
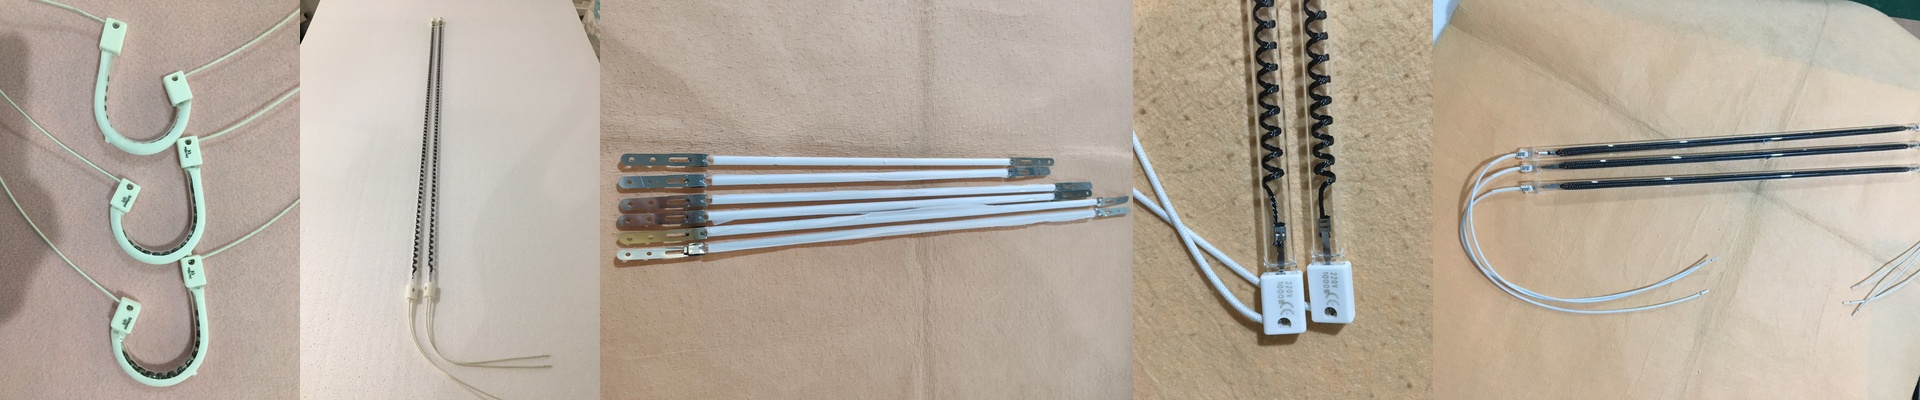
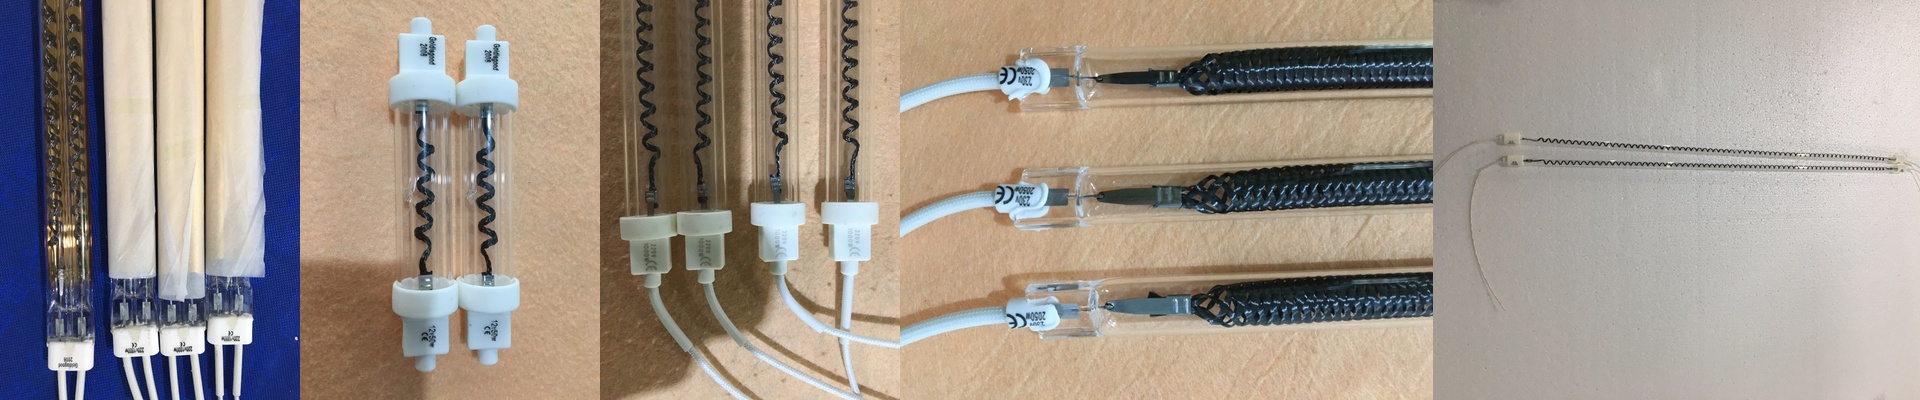
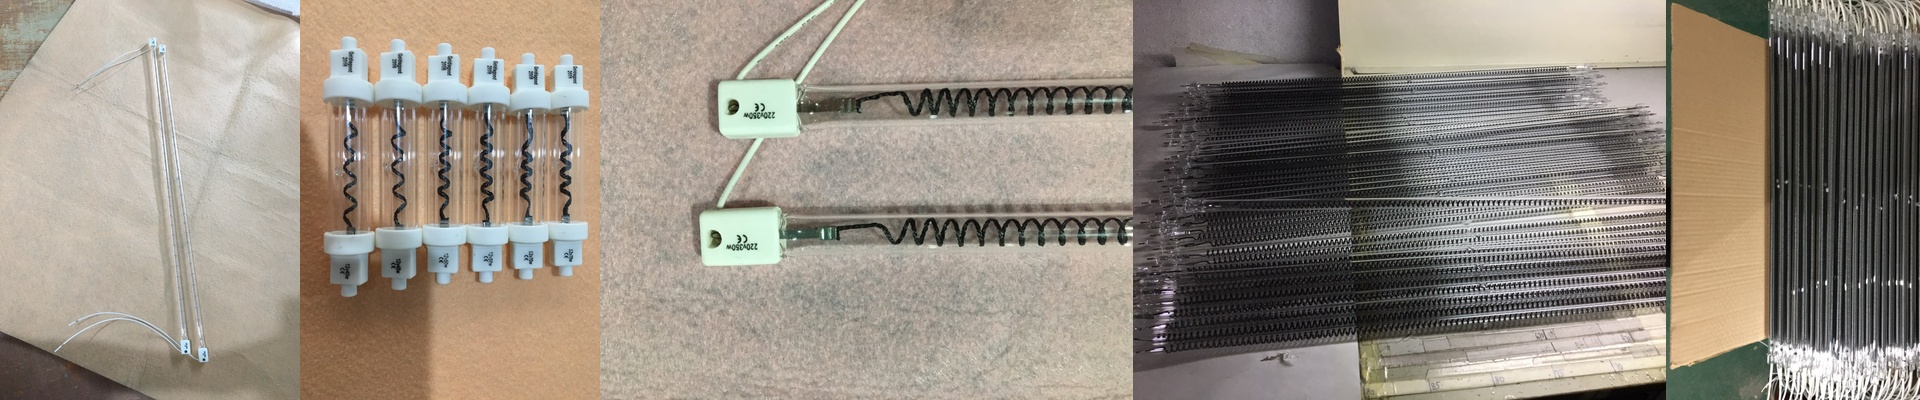
Curing brake pads is a bit of a balancing act. If the outside dries out while the core is still cold, you’re looking at thermal cracks and those annoying internal bubbles. It’s a mess. That’s why we lean on short-wave infrared. Instead of just heating up the air in a big oven and hoping for the best, IR goes straight into the material. It cures the resin from the inside out, which is exactly what you want. Dealing with the heat You can’t just crank the heat to max and walk away. If you blast the parts, they’ll crack. The trick is matching the wattage and wavelength to how dense your friction compound is. We stick with high-intensity short-wave emitters because they react fast. The second your sensors see the material hit that sweet spot, the lamps can dial back almost instantly. It stops that “over-baked” look where the surface shrinks and leaves holes in the structure. The gear We usually go with quartz-halogen tubes. We use specific coatings to get the light spectrum just right, and we tie them into a PID control loop to keep things steady. One heads-up: keep your power supply clean. Voltage spikes are a nightmare—they’ll fry your filaments way sooner than they should. We use standard industrial connectors, so when it’s time for maintenance, you can just swap them out and get back to work. Real talk: The shop floor Here is the thing about high-density IR: it pulls a lot of power. And while it can shave 40% off your curing time, it puts out some serious heat. You’ve got to get your cooling fans and exhaust hoods right. If the oven doesn’t breathe, the heat builds up inside, your sensors start drifting, and suddenly your scrap rate is climbing. Also, keep those reflectors polished. A little bit of dust on the mirrors kills your efficiency and creates hot spots on the pads. It’s a simple fix, but it makes a huge difference.