Getting Your IR Heating Walls Right
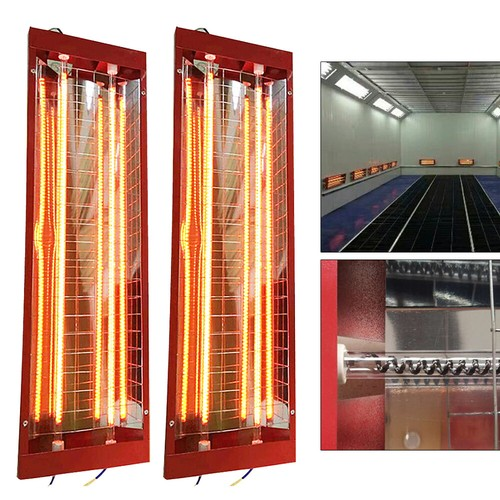
If you’ve ever set up a heating wall for a paint booth, you know it’s never as simple as just hanging a few lamps and flipping a switch. It’s a balancing act. One day you’re working on a tiny coupe, the next it’s a massive SUV. If your lamp layout is stuck in one position, you’re going to run into trouble. You’ll either end up with cold spots that won’t cure or, even worse, burnt paint. That’s why we focus so much on the vertical spacing of those IR emitters.
Avoiding the “Stripes”
The goal is simple: you want a blanket of heat, not a series of hot lines. Here’s the thing about IR tubes—they throw heat in a cone shape. If you space them too far apart, you get “striping.” It’s a nightmare. Your paint cures in lines instead of one smooth, solid sheet. To stop that from happening, we overlap those radiation cones. For the bigger rigs, we pack more lamps into the middle section where the bulk of the chassis sits. Then, we dial it back at the top and bottom. This keeps the roof and undercarriage from getting blasted with too much heat.
The Nitty-Gritty Hardware
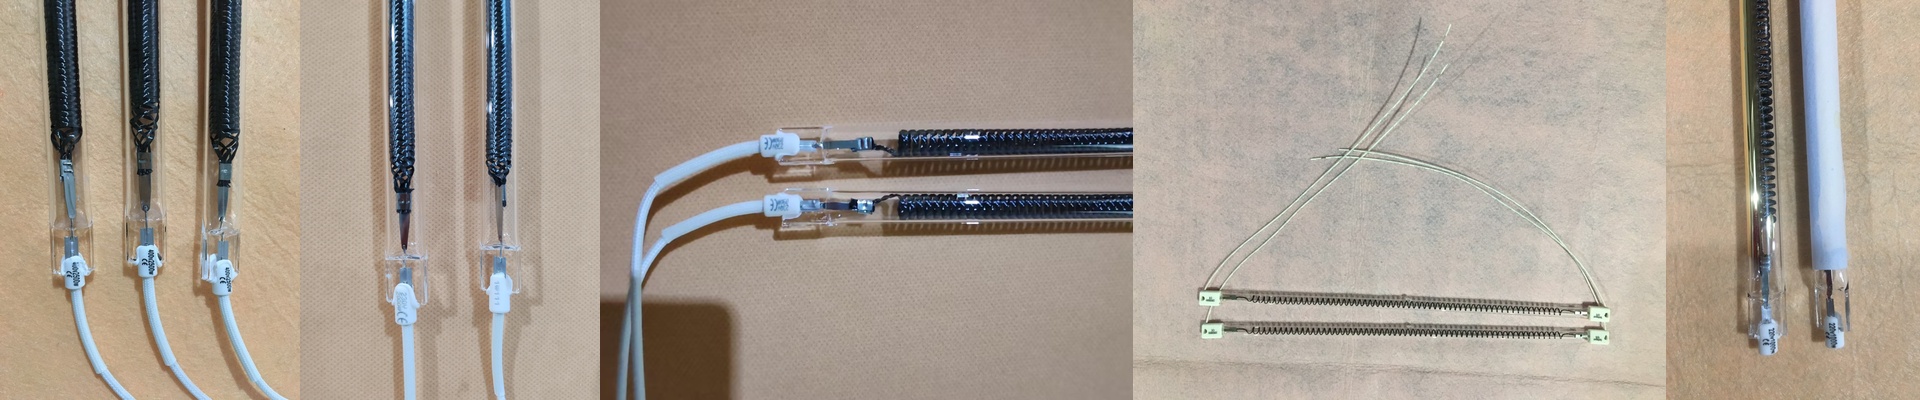
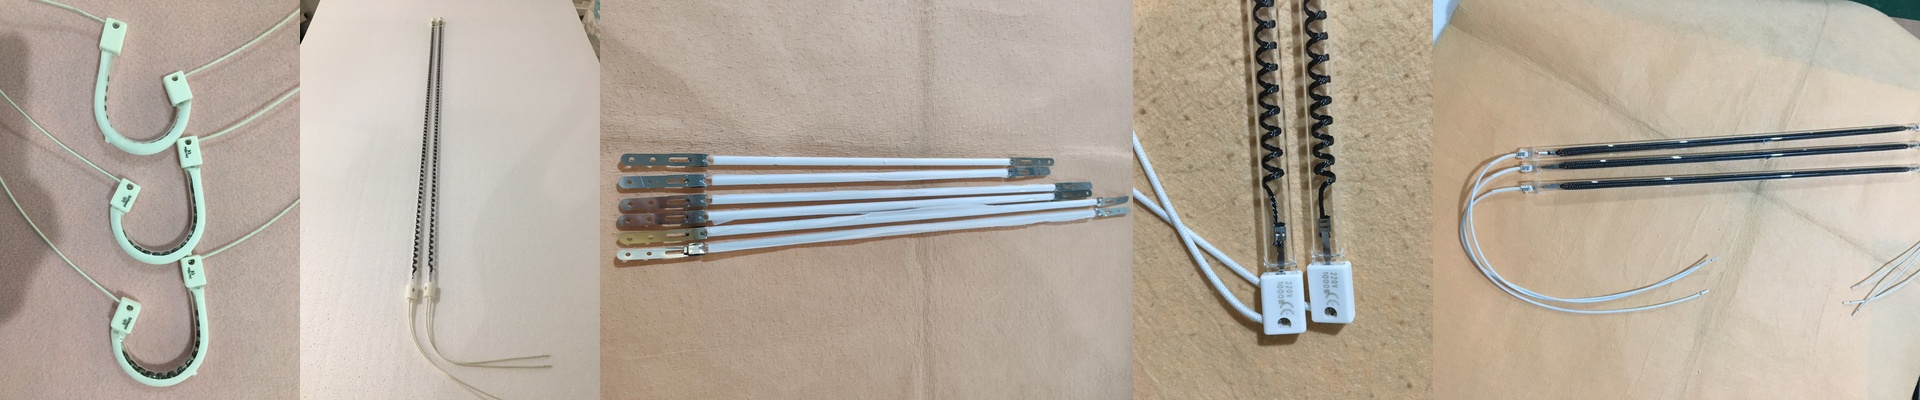
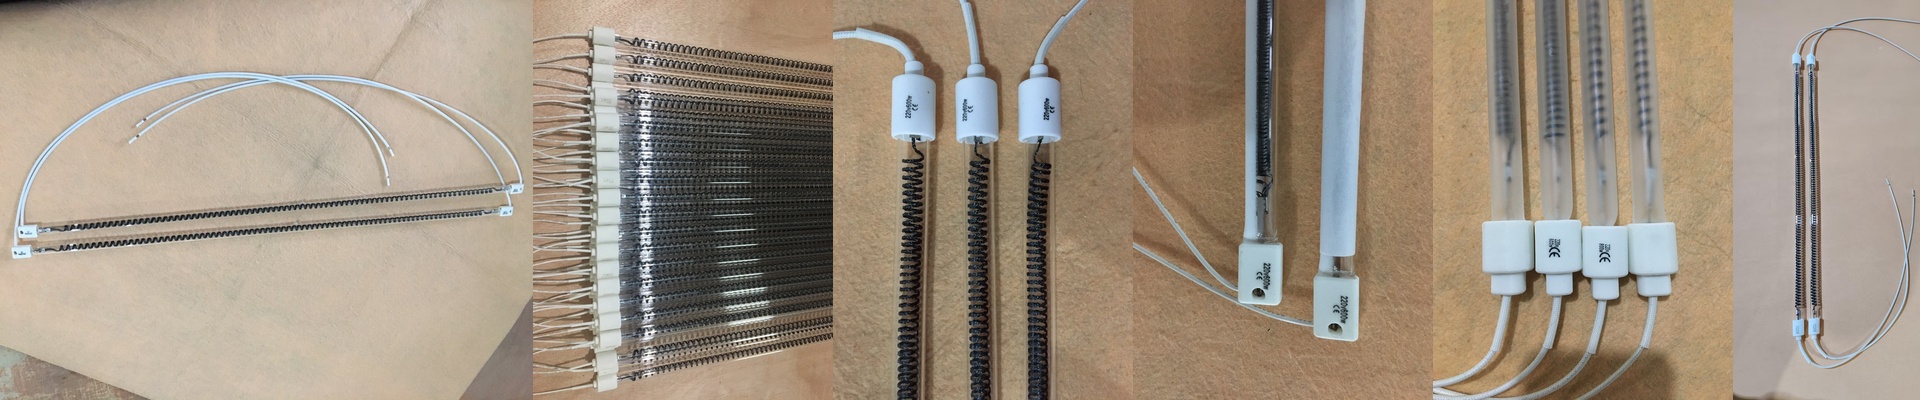
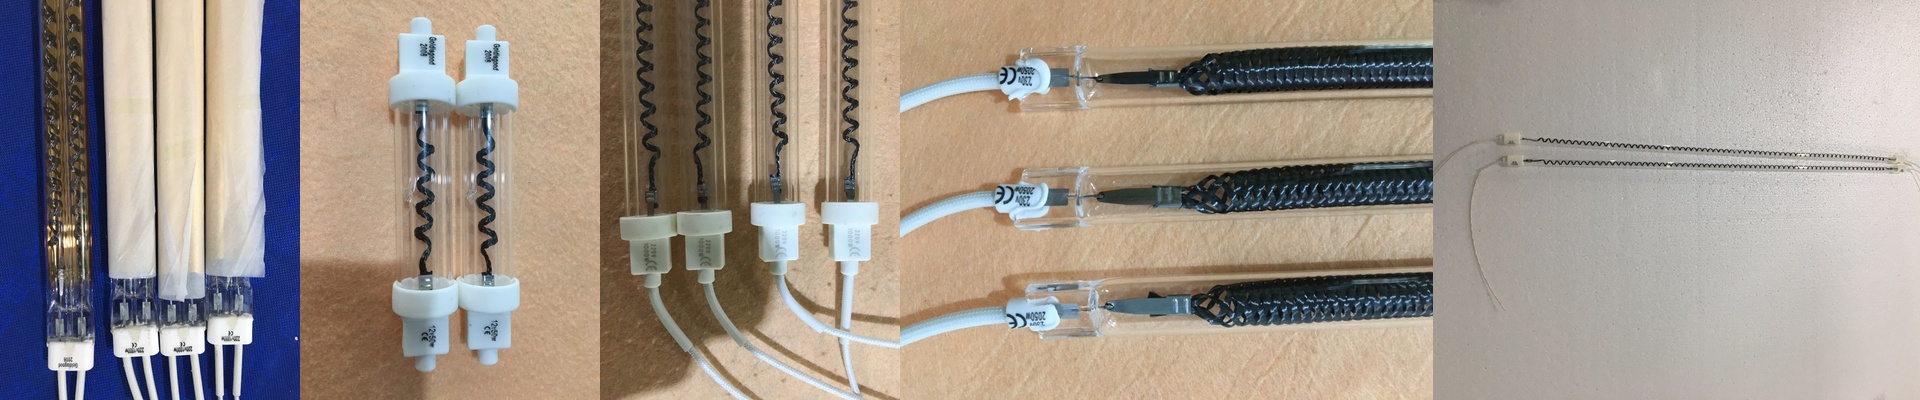
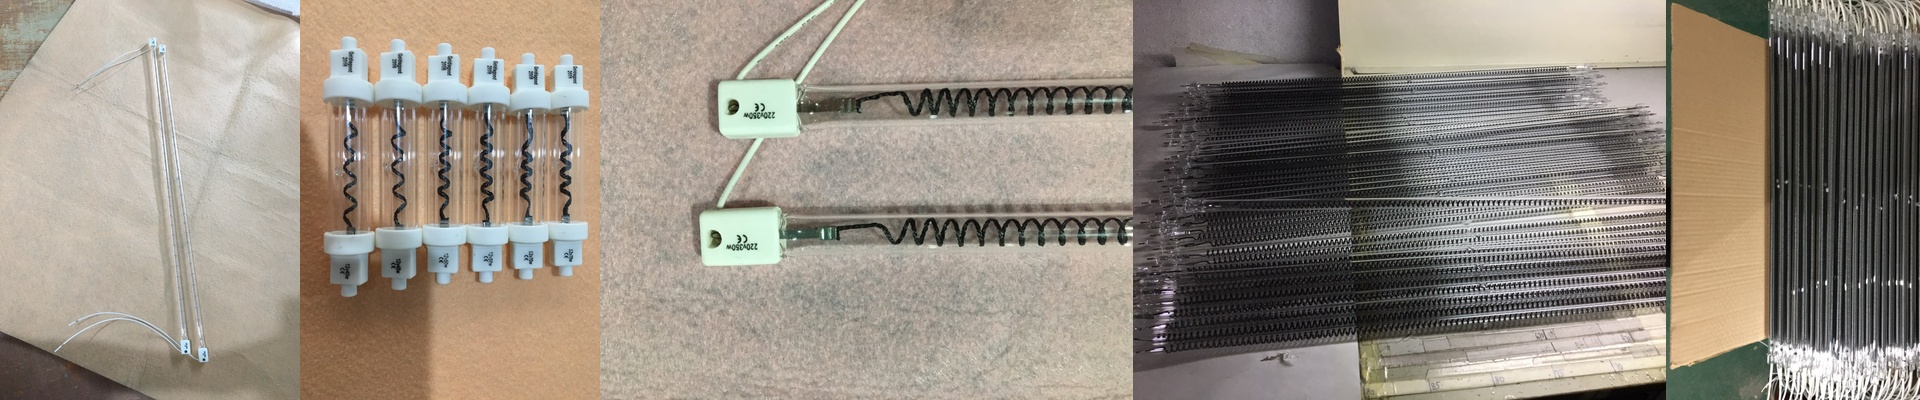
We usually go with short-wave IR tubes. They’re faster and punch through the paint layers more effectively. But you have to be careful with your power supply. If you’re packing 50 tubes into one wall, the power draw is huge. We wire them in parallel circuits. Why? Because if one lamp burns out, you don’t want the whole bank to go dark and kill your productivity. And a quick heads-up: more heat means a faster cure, but it puts a lot of pressure on your ventilation. If your exhaust can’t keep up and the air in the booth gets too hot, you’re looking at solvent pop in your clear coat. Not a good look.
Making it Adjustable
We don’t believe in “permanent” setups. We build our walls with modular brackets. This means you can actually slide the lamps up or down to tweak the heat map after the booth is already installed. It’s a much easier way to fine-tune things without having to tear apart the entire frame and start over.