Getting Your IR Heating Walls Right: No More Hot Spots
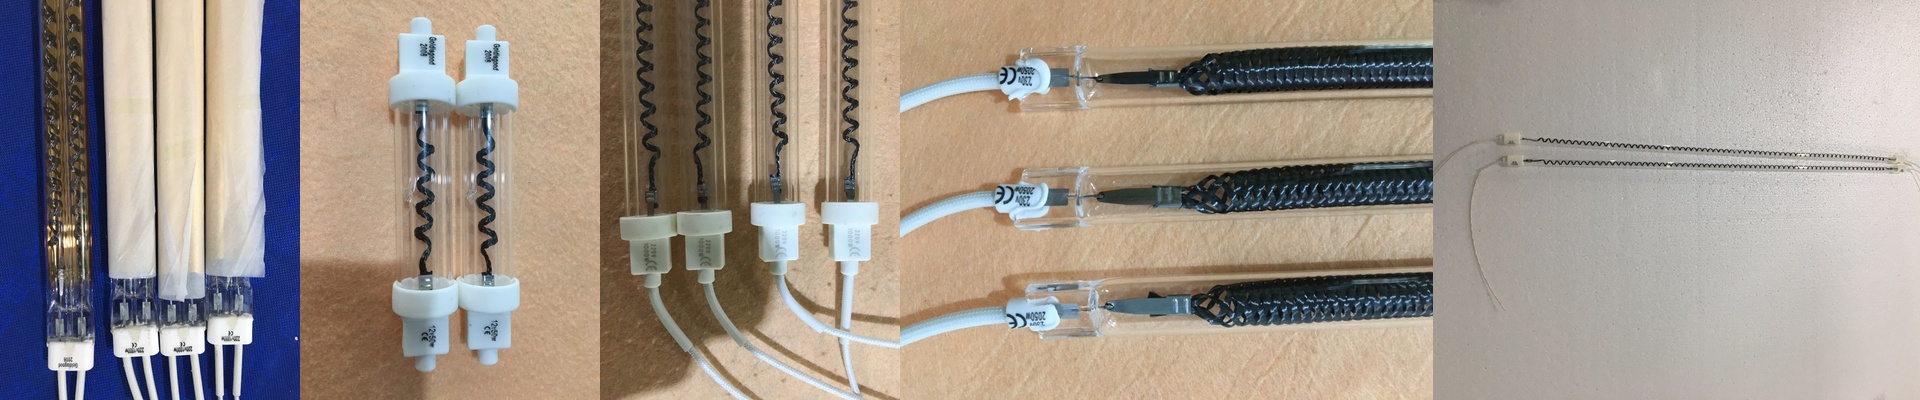
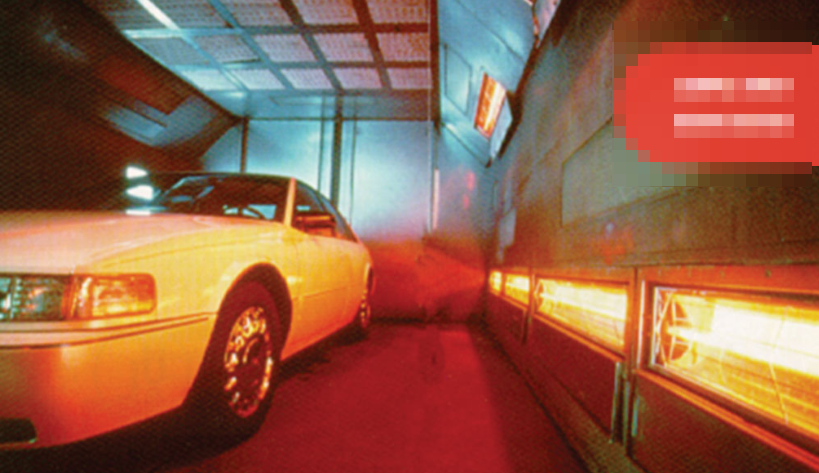
When you’re building a custom heating wall for a paint booth, the real struggle is getting the temperature even. It’s a tricky balance. A tiny coupe and a high-roof van don’t “see” the infrared emitters the same way. If your vertical spacing is just a little bit off, you’re looking at scorched doors and a roof that stays cold. Nobody wants to redo a paint job because of a dead spot. The math behind the heat We don’t just throw lamps on a wall and hope for the best. We actually map out where the heat is going based on how tall the vehicle is. For those bigger chassis, we pack more shortwave emitters into the top sections. Why? Because radiation loses punch the further it travels. You have to get the wattage per meter just right based on the gap between the lamp and the car. Too much space and you’re wasting power. Too little, and you’ll toast the clear coat before you even realize it. Smart layouts and zoning The secret is breaking the wall into independent vertical zones. Think about it: if you’re curing a low-slung sports car, you don’t need the top rows blasting heat into empty air. You just flick them off. It saves energy and keeps the car from overheating. Also, don’t skimp on the mounting brackets. If those tubes start to sag, the beam shifts. Once the focal point moves, your consistency goes out the window. The trade-offs Here’s the thing about high-density IR arrays: they get the job done fast, but they turn the booth into a sauna. If your ventilation isn’t beefy enough to pull that hot air out, the whole booth becomes an oven. That actually slows down the solvent evaporation, which defeats the whole purpose of using IR in the first place. And a quick tip on the electronics—wire these zones into a PLC with PID controllers. It stops the lamps from burning out because they aren’t constantly snapping on and off. Oh, and if you’re using high-wattage tubes, double-check your cable gauges. You don’t want a voltage drop halfway across the wall.